Cheese boards used to intimidate me. How do you know what cheese to put on a cheese board? What else are you supposed to put on a cheese board? I’m going to tell you, I promise! I have made several cheese boards in the past, and they haven’t always gone over well. But this one, my friends, was a hit! I’m going to tell you what I’ve learned over the years, and hopefully, if you’re a cheese board novice, you’ll see how EASY it is to make your own. And then, trust me, you’re going to want to make a cheese board for every gathering from here on out. I’m going to share some tips that I’ve learned, and I also want to mention, these tips are NOT rules, just some friendly advice. Also, if you have any cheeseboard tips, please share them with me!
Cut the cheese!
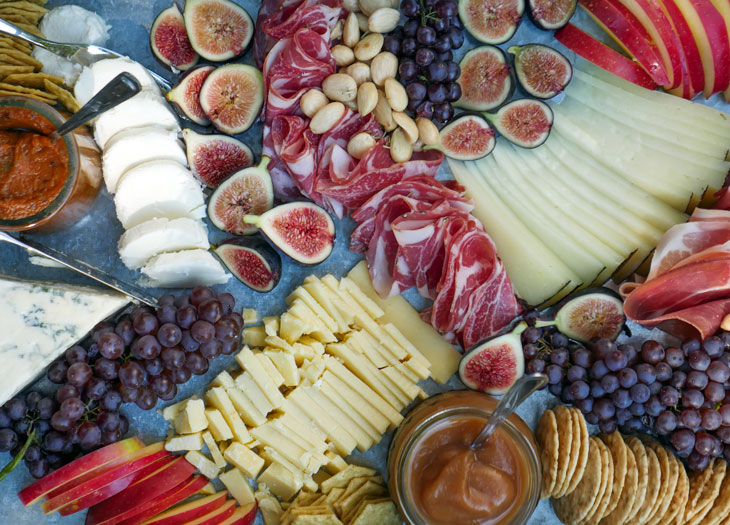
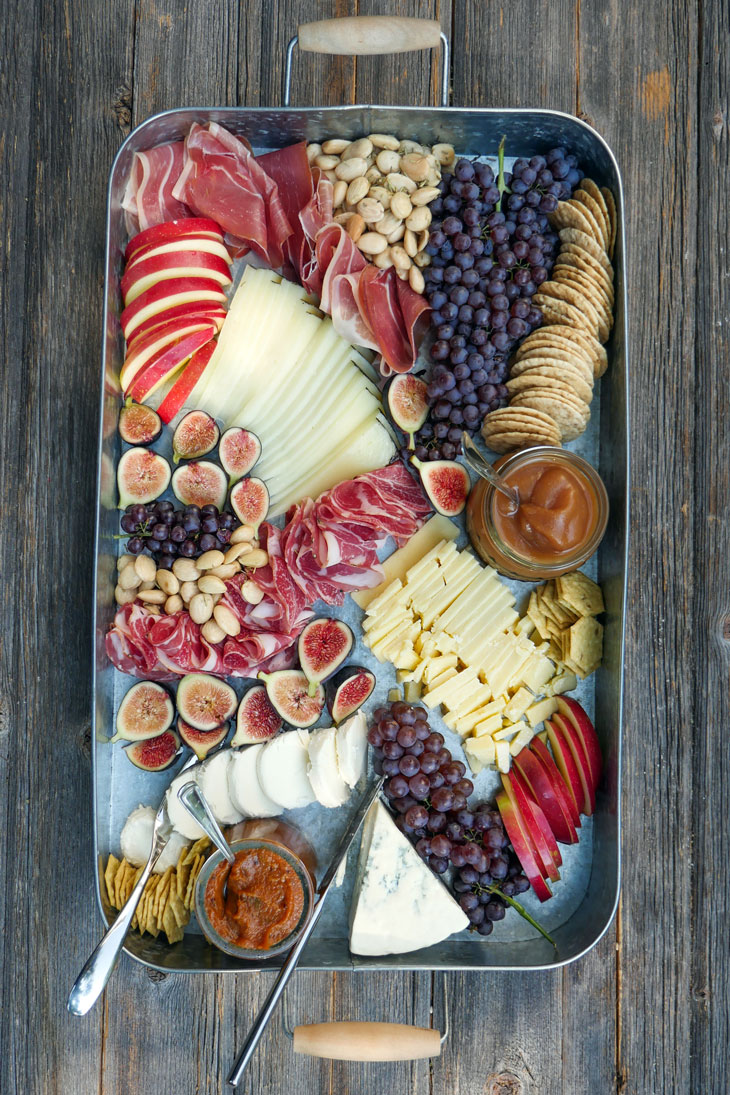
You don’t need to slice all of the cheese – but slicing at least some of the cheese makes it less intimidating for your guests! It takes just a minute of your time, looks pretty on the plate, and is easier to eat. I’m not sure if you’re like me – but I feel awkward being the first to cut through a solid block of cheese. Make it easy on your guests and cut the cheese, y’all. (And yes, I intentionally wrote “cut the cheese” instead of “slice the cheese” because I am still in third grade and clearly not sophisticated enough for this cheese board 🙈)
Try not to crowd the cheese
Use a large platter so you can keep the cheese separated! Blue cheese is strong in flavor, and if it’s too close to the other cheeses, they’ll all end up tasting blue.
Assemble the board early
Assemble the cheeseboard about half an hour before the guests arrive so that you serve the cheese at room temperature.
Choose cheese that’s different in flavor and texture
I like to choose 4 different types of cheese: aged, firm, soft and blue. You can see some recommendations in the recipe card below – you can also ask whoever is working behind the cheese counter at your local store for recommendations.
Cheese boards CAN be budget-friendly!
I used to buy cheese from Whole Foods and still do sometimes when I want advice from the cheesemonger (cheese expert) behind their cheese counter. But I’m also a huge fan of the cheese offered at ALDI. ALDI has an amazing selection of cheese, especially during the holidays when they offer specially imported cheese. There’s no rule that good cheese has to be expensive so if you’re on a budget, try ALDI. All of the cheese pictured on this board is from ALDI along with cured meats and some of the gluten-free crackers. Note: I have worked with them in the past, but this particular post is not sponsored by them.
Add some fresh fruit if possible
Apples and pears aren’t expensive and add color to the board. I like champagne grapes, which are perfect for a cheese board, but you can definitely use regular grapes too. And fresh figs are a splurge if you can find them – just a few of them make the board pop. You can also always go the dried fruit route! I buy organic dried figs and dates in bulk from Costco and keep them in the pantry.
Condiments are key
I love homemade apple chutney and apple butter on a cheese board, but there’s really no need to make everything from scratch. Use store-bought apple butter or jam or any preserves you want and place them on the board. If budget isn’t an issue, buy a block of honeycomb and put it on there too. I asked Roby to pick me up a block while he was at the store so I could photograph what you see here, and he sent a text asking me if I really “wanted to spend $40 on a block of honeycomb the size of an iPhone,” lol. Anyway, I found a block of honeycomb on amazon for a much better price, so that will be making an appearance on my next platter. This cheese board is the perfect sole appetizer for 8-10 people if you plan on serving dinner afterward. If you make a cheese board using my “advice,” will you let me know how it turned out for you? And definitely share any advice/tips you have for making a cheeseboard! Like this recipe? Pin it to your favorite Pinterest board now so you will remember to make it later!