After obsessing over the perfect way to cook a turkey for far longer than I care to admit (every fall for the past decade), this year, I’ve finally figured out the best way to do it. I’m going to show you how to make an incredible Indian turkey using a foolproof method that will result in a perfectly cooked turkey.
Let’s Talk Turkey
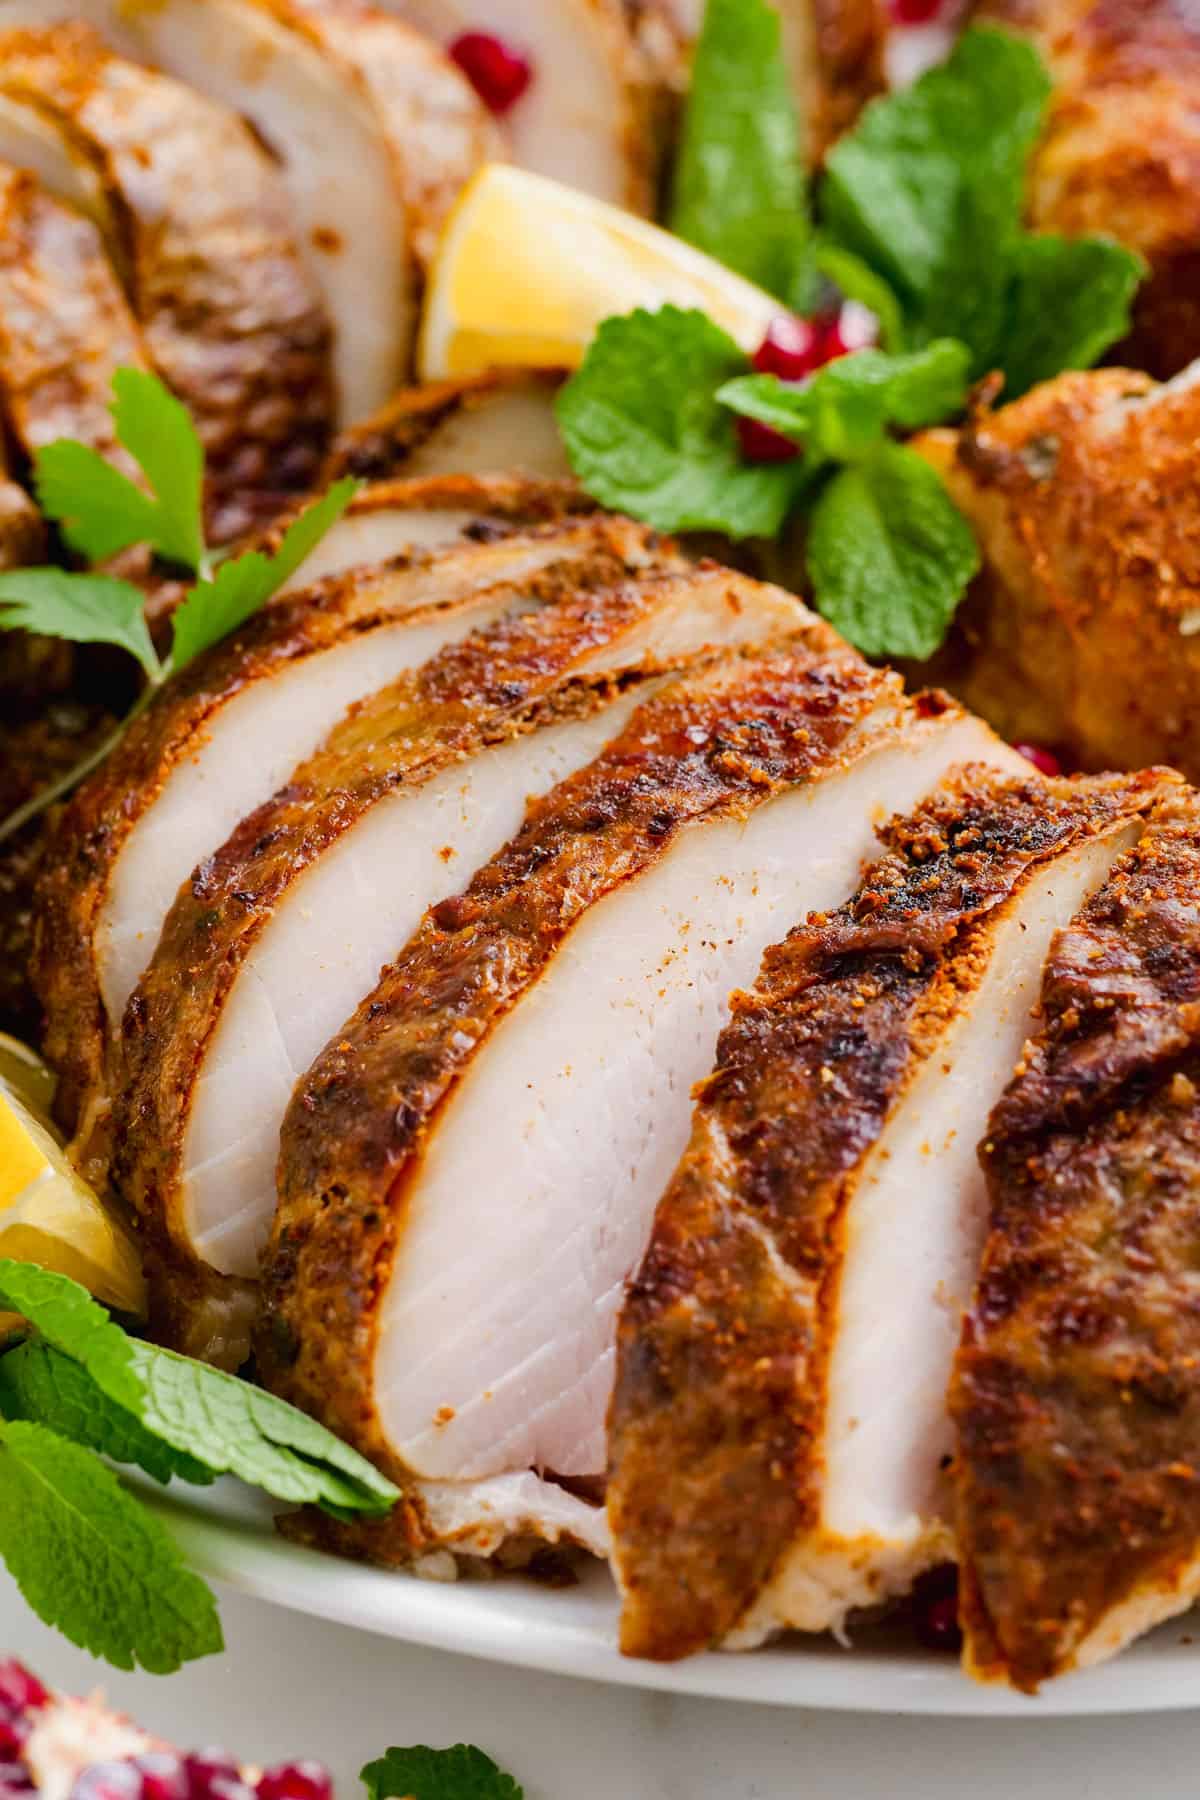
Today, I’m tackling the centerpiece of your holiday meal, and I want you to know I don’t take that responsibility lightly. I have tested this recipe many times to ensure perfect results. I am so glad I did because this was the juiciest, most flavorful and easiest turkey roast I have ever made! I have tried everything in the past-wet brining, dry brining, basting, butter under the skin etc but never this upside down method. It was so easy and made for the most delicious turkey” We all know about turkey’s reputation for being boring, bland, and dry. Every year around the holidays, we collectively try to figure out how to make a whole turkey taste better. It’s a tricky task – getting the dark and white meat to cook in the same amount of time. Turkey isn’t just a vehicle for gravy and cranberry sauce. A holiday turkey should taste as magnificent as it looks, and this masala turkey promises to do just that.
The Best Way to Cook a Turkey
My recipe calls for combining several methods I’ve read about, analyzed, and tested. I’ve also added some tweaks of my own. I really believe that this is the best way to cook a turkey. There’s no messing around with oven temperatures or opening oven doors. Forget about using a basting brush or making foil tents. You don’t need to fret about the turkey breast overcooking, because it won’t. Follow my directions, and your turkey will turn out perfectly cooked. Just a heads up, I know some of these methods might seem a bit unorthodox, but trust me – they work.
We’re using the following methods:
The Dry Brine Method
This method, developed/popularized for turkey by Russ Parsons, has become increasingly popular over the years, so perhaps you’re familiar. All it means is that we’re salting the bird (rather than soaking it in salty water). Rub spices all over the turkey and let it sit uncovered in the fridge for a day. Easy. This step is important in achieving moist meat and crispy skin. Why? Well, according to The Science of Good Cooking, this technique draws out the natural juices from the bird through osmosis where it dilutes the salt on the surface. The salty solution (again, made with natural juices) eventually gets reabsorbed back into the bird. The book’s writers say, “after the salt we’ve applied causes the moisture to migrate back within the bird, we are left with a drier surface area. This means we more rapidly obtain a high outer temperature and, as a result, there is better browning and a supremely crispy skin.” In previous years, I would make two turkeys for our family gatherings, one “American style” using a dry brine and one Indian masala-style, but with a yogurt or cream marinade. While I favored the flavor of the Indian turkey, I always preferred the crisp skin of the other turkey. It took me a while to connect the dots – but now that I have, I’m here to tell you that a dry brine using Indian spices is the way to go.
The Bread Method (gluten-free bread works too!)
I believe we have Martha Stewart to thank for this method. Basically, instead of a rack, we’re using buttered bread as a trivet in our roasting pan. This is helpful because we’re roasting the bird breast-side down (I’ll get to that in a second) and having the soft bread act as a trivet will help protect the skin on the breast (I learned about this method after having turkey skin rip on me while using a rack). Bonus: once done cooking, you can snack on the bread while waiting for the turkey to cool down. That said, I wouldn’t make plans to serve the bread as a side dish – it’ll be soaked with drippings and while some parts might be quite tasty, other parts of the bread might be a bit too salty.
Gluten-free? While I’m sure any gluten-free loaf will work, I’ve tried this using gluten-free Udi’s hamburger buns. Schar Ciabatta rolls work too, but I prefer the way the Udi’s hamburger buns hold up, and also taste once roasted. You want to use enough buns to keep the turkey skin from touching the bottom of the pan (6 Udi’s buns).
The Upside-Down Method
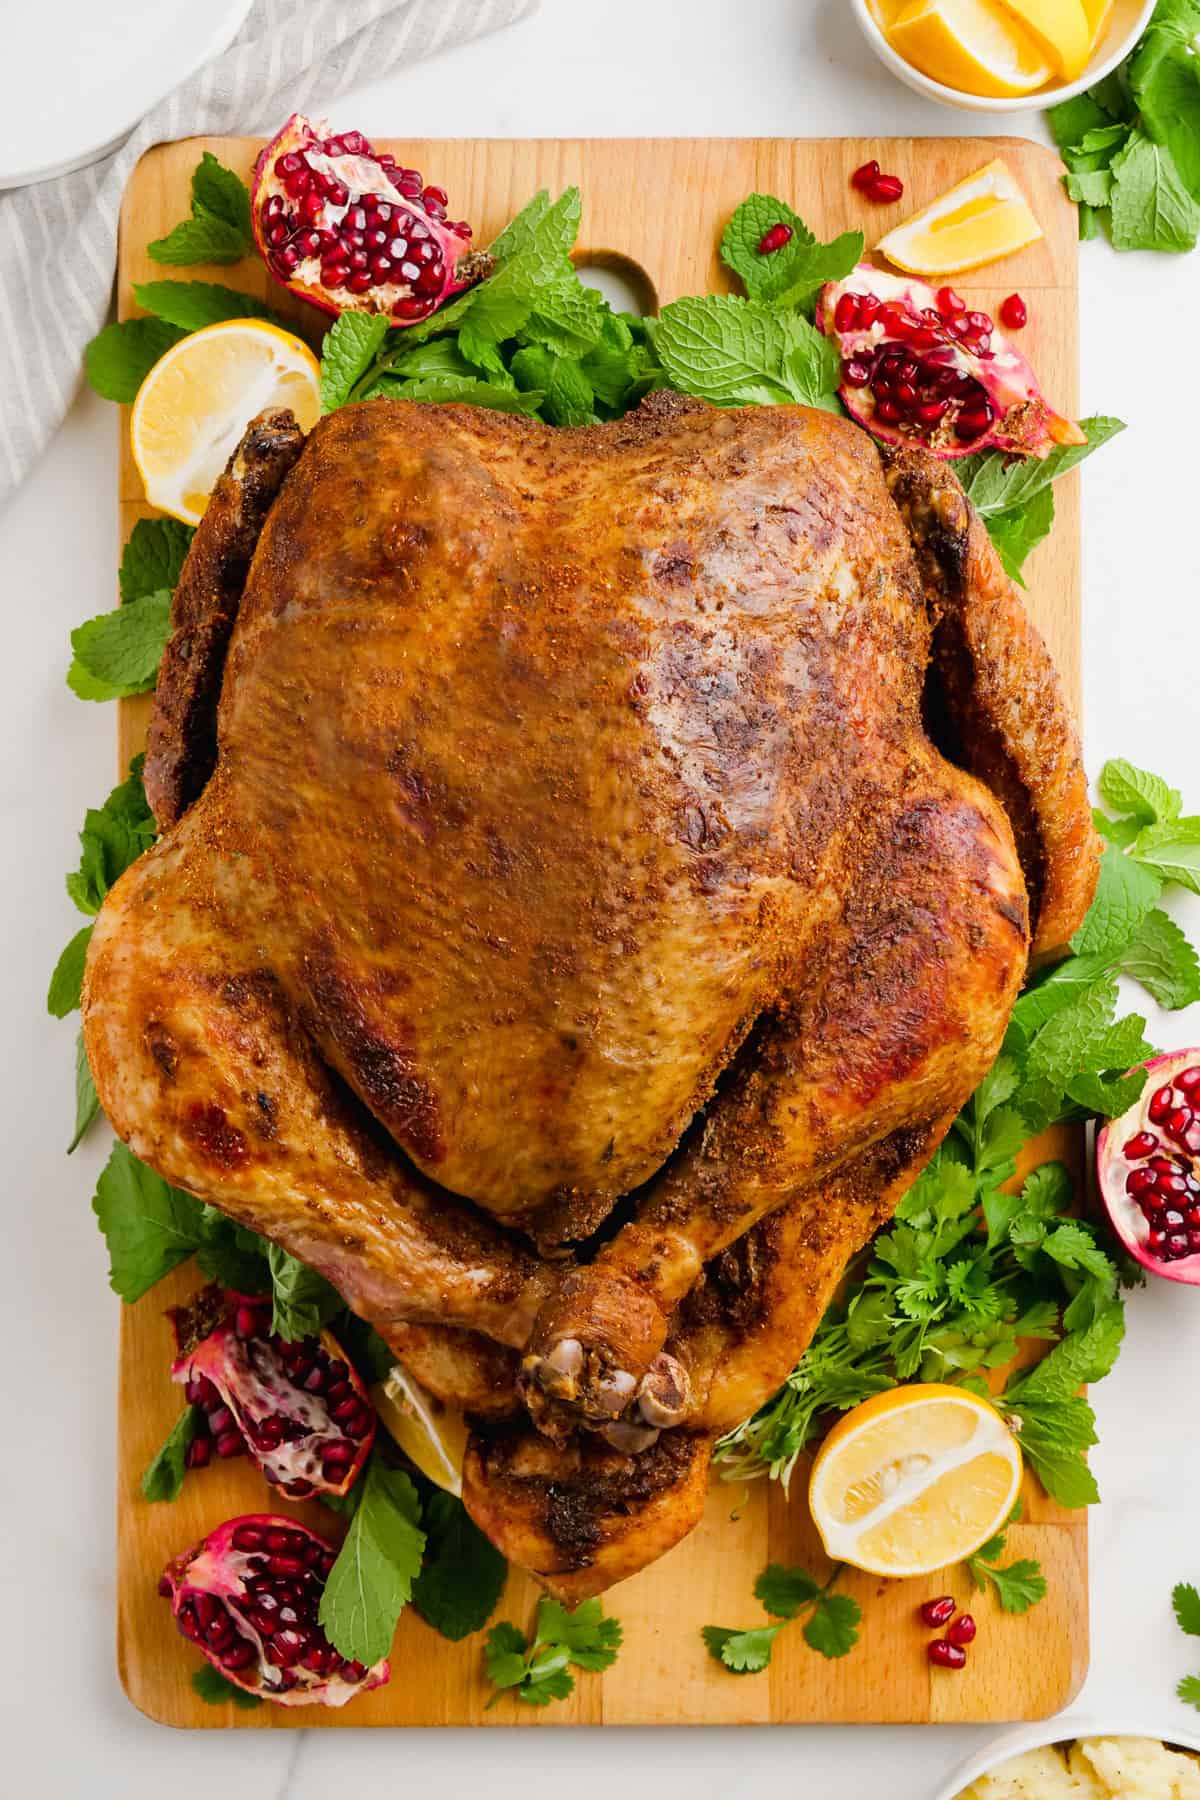
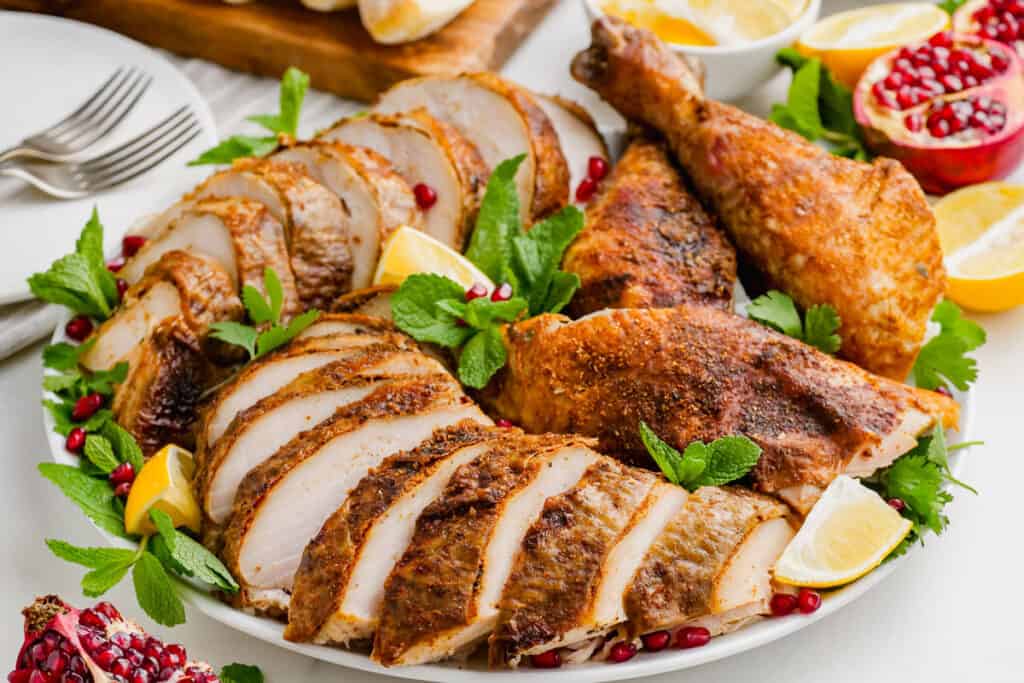
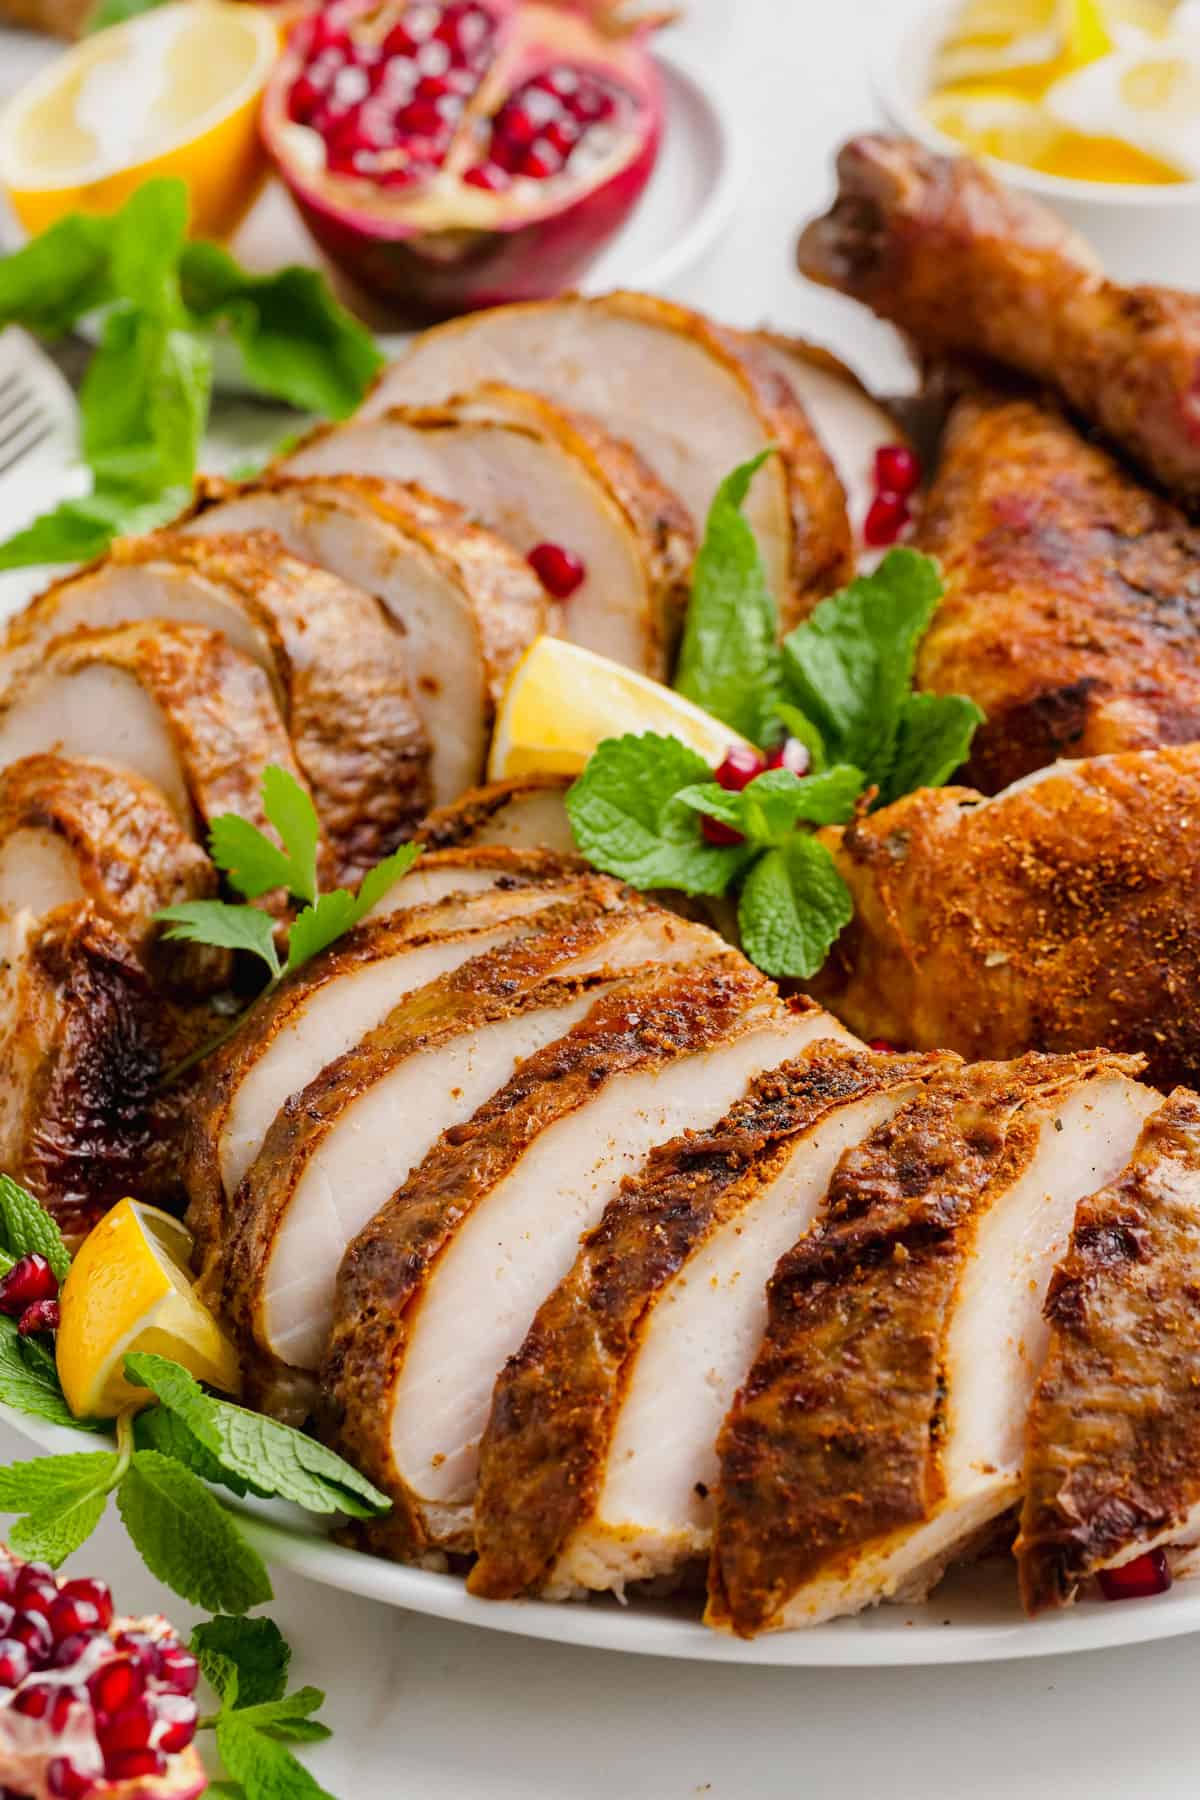
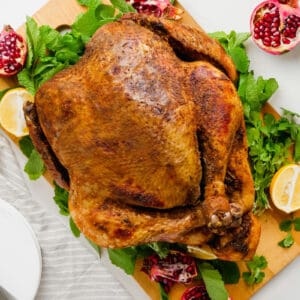
We are cooking the turkey breast-side down. I don’t know who first came up with this, but the idea is genius. The dark meat gets direct heat, and the fat from the dark meat runs down to the white breast meat, essentially self-basting the bird. You end up with juicy, perfectly cooked white and dark meat. Most people who suggest cooking the bird breast-side down will tell you to cook the bird this way for a short time before flipping it over (while still raw inside) and then they’ll have you change oven temperatures, baste the bird, and tent the bird. That’s too complicated. I suggest cooking the turkey breast-side down the entire time at the same temperature until fully cooked. It’s easier, and it works. There’s no risk of overcooking which means you’ll get perfectly tender white breast meat. After the bird is fully cooked, you can then flip it over and broil it to brown and crisp the skin on the turkey’s breast. This helps make it look more presentable. If the idea of flipping the bird (ha) makes you nervous, you can always skip the final broil. Since the bird is well-coated in masala, the breast will already be a bit brown and there’s already plenty of crispy golden meat elsewhere on the bird. The turkey will still taste amazing.
How Long to Cook Turkey in the Oven
I suggest 15 minutes per pound of turkey.
10-pound turkey = 150 minutes = 2.5 hours12-pound turkey = 180 minutes = 3 hours14-pound turkey = 210 minutes = 3.5 hours16-pound turkey = 240 minutes = 4 hours
The turkey is done when it registers 165°F for the thighs and 160°F for the breasts. I highly recommend getting a digital probe thermometer (this is the one I have) that goes inside the oven – it’ll alert you when the turkey reaches the correct temperature. I also use a digital instant-read thermometer to take the temperature again, after taking the turkey out of the oven. Having a thermometer is really nice – it’s reassuring. I know you may only use it a few times a year, but it’s worth having, even if only to quiet the nerves that come with preparing a high-stakes holiday meal.
How much turkey per person? How big of a turkey should I buy?
When trying to decide how big of a turkey to buy, I think it depends on how many other items you plan to have on the table. To be sure there’s enough meat, you can go for 1 to 1.5 pounds per person. If you have 10 people coming to dinner, you can get a 10 to 15-pound turkey. If you have leftover turkey, you can always make my Festive Holiday Turkey Biryani!
Should I stuff the turkey?
No. Stuffing the bird can affect the cook time and can also prevent proper air circulation within the bird.
Can I use the drippings?
The bread in this recipe will absorb most of the drippings, so there won’t be much left to use. Also, the drippings here are going to be very salty, so I don’t think you’ll want to use them anyway.
Should I truss the bird?
Trussing a bird sounds complicated and while there are plenty of sophisticated ways to truss, my method is silly simple. Tie one string around the wings and another string around the legs, that’s it. You only have to do this if you want the turkey to look nice on a platter – it’s really just for presentation purposes. The string keeps the wings and the legs from spreading out while roasting.
Should I tuck the wings behind the turkey? No, and here is why:
No, do not tuck the wings behind the turkey. The point of tucking the wings under the bird’s shoulders before roasting is to prevent the wing tips from burning, but when you are roasting the bird upside down (breast-side down) the entire time, the wing tips should be on the side, not tucked behind the back under direct heat. That’s why you’ll either want to truss the way I suggest above or leave them as they are.
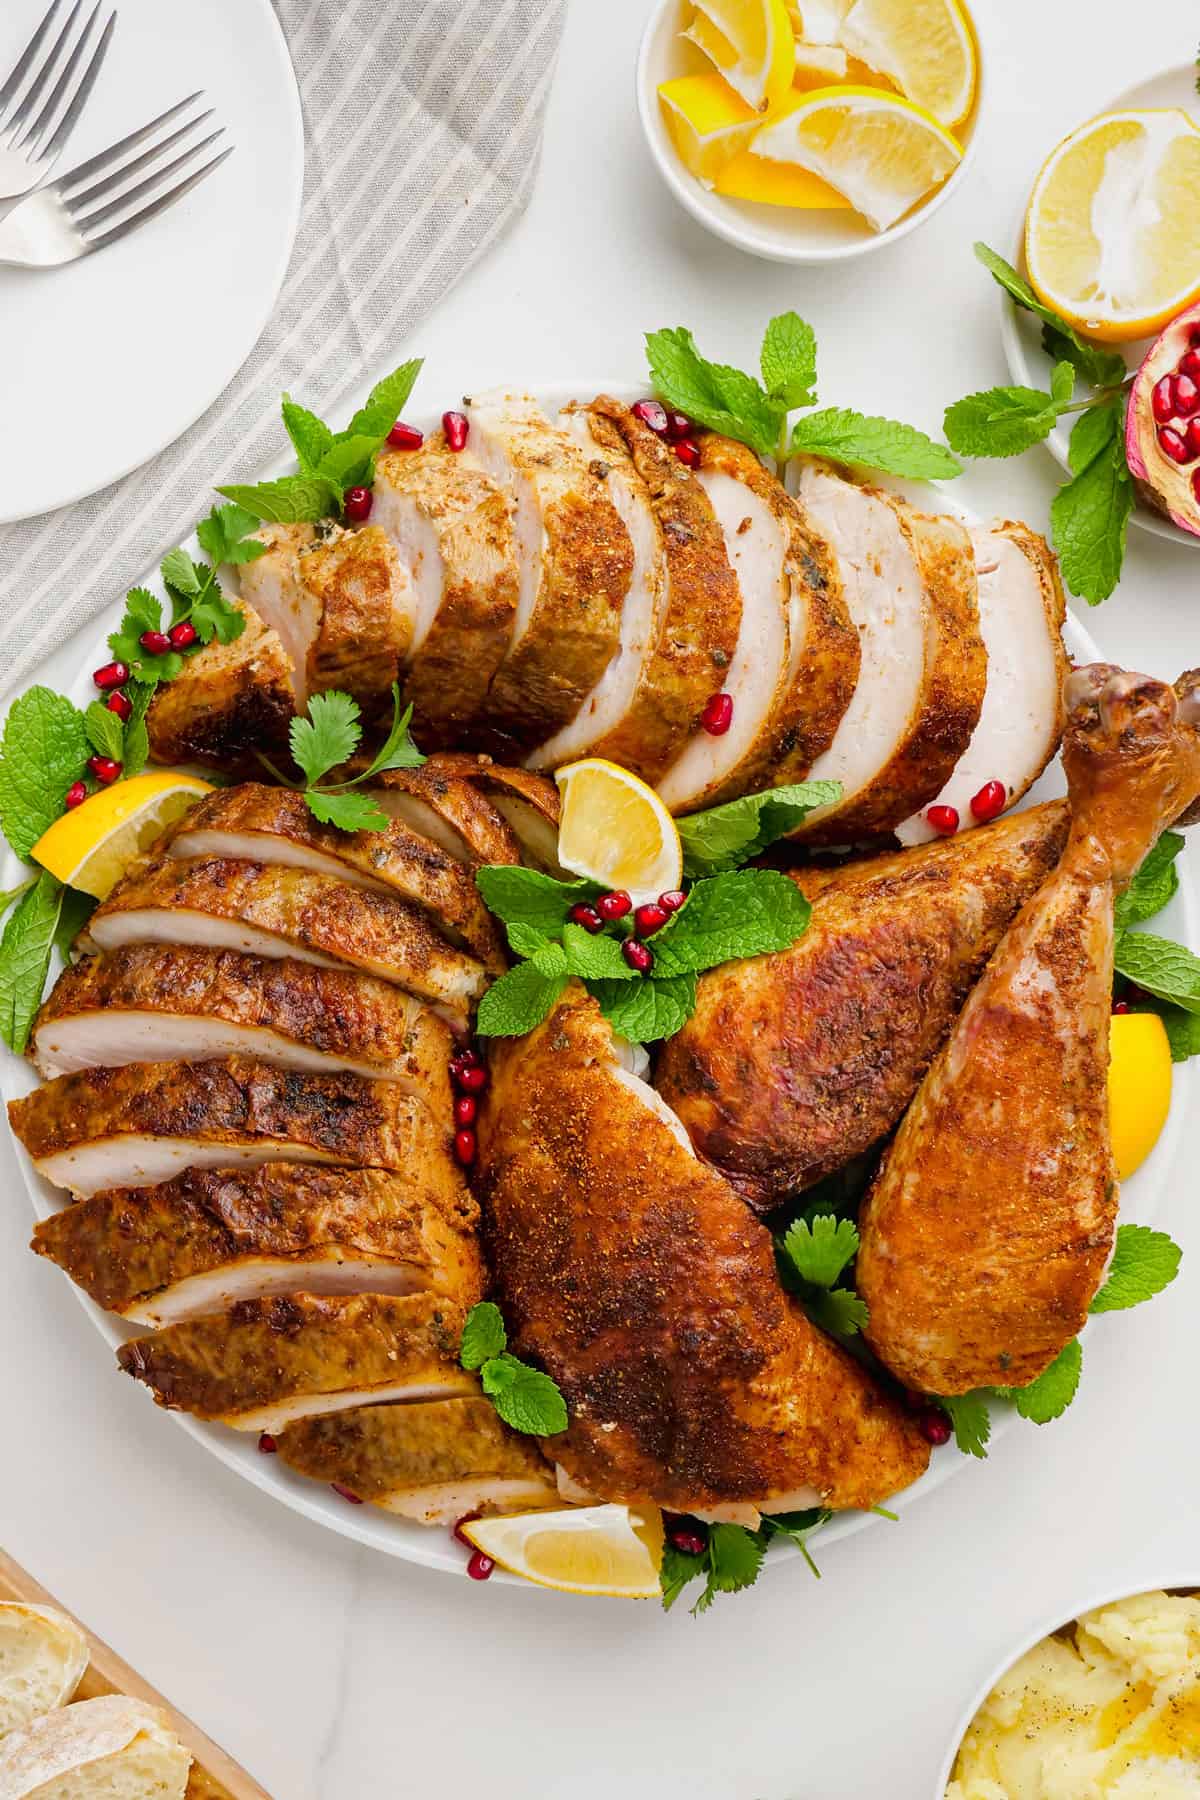
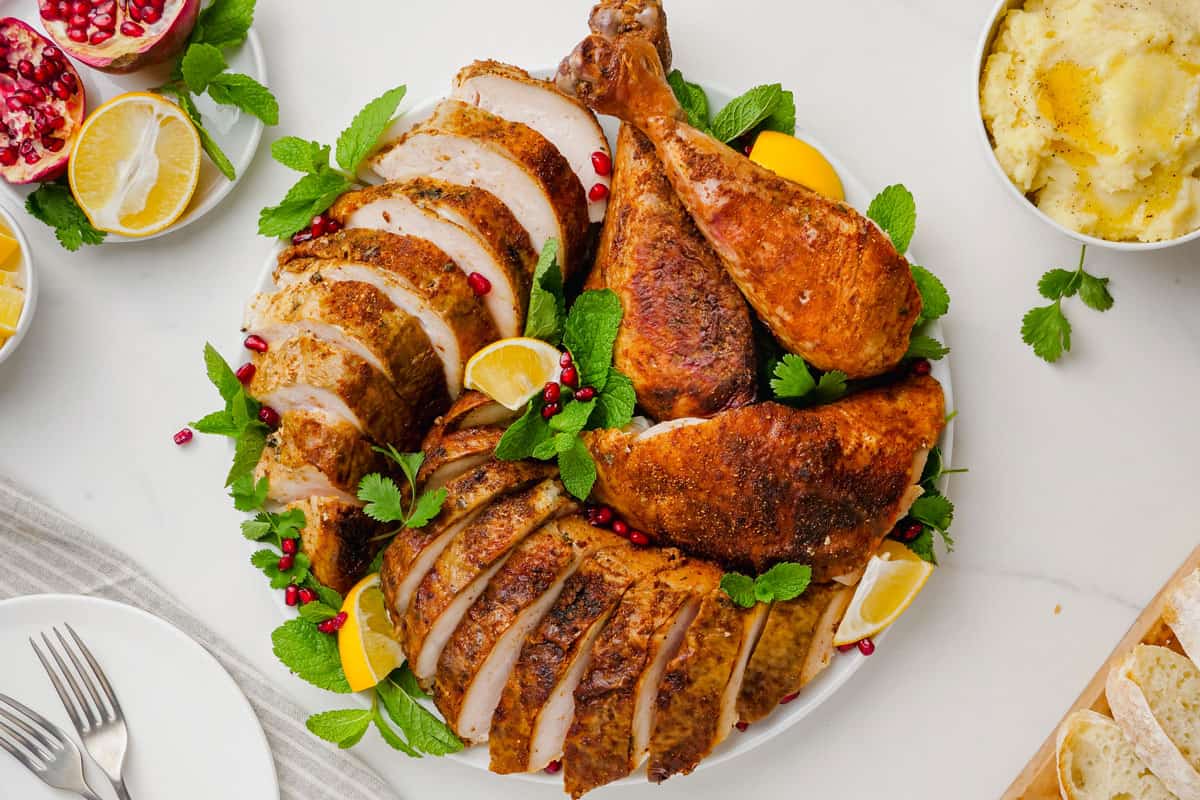
What to Serve with Masala Turkey:
You can serve this Indian-style turkey with any of the sides below. I’d also suggest making some plain basmati rice and raita (my Beet Raita would be great) to go along with it. Happy Holidays! Like this recipe? Pin it to your favorite Pinterest board now so you will remember to make it later!